
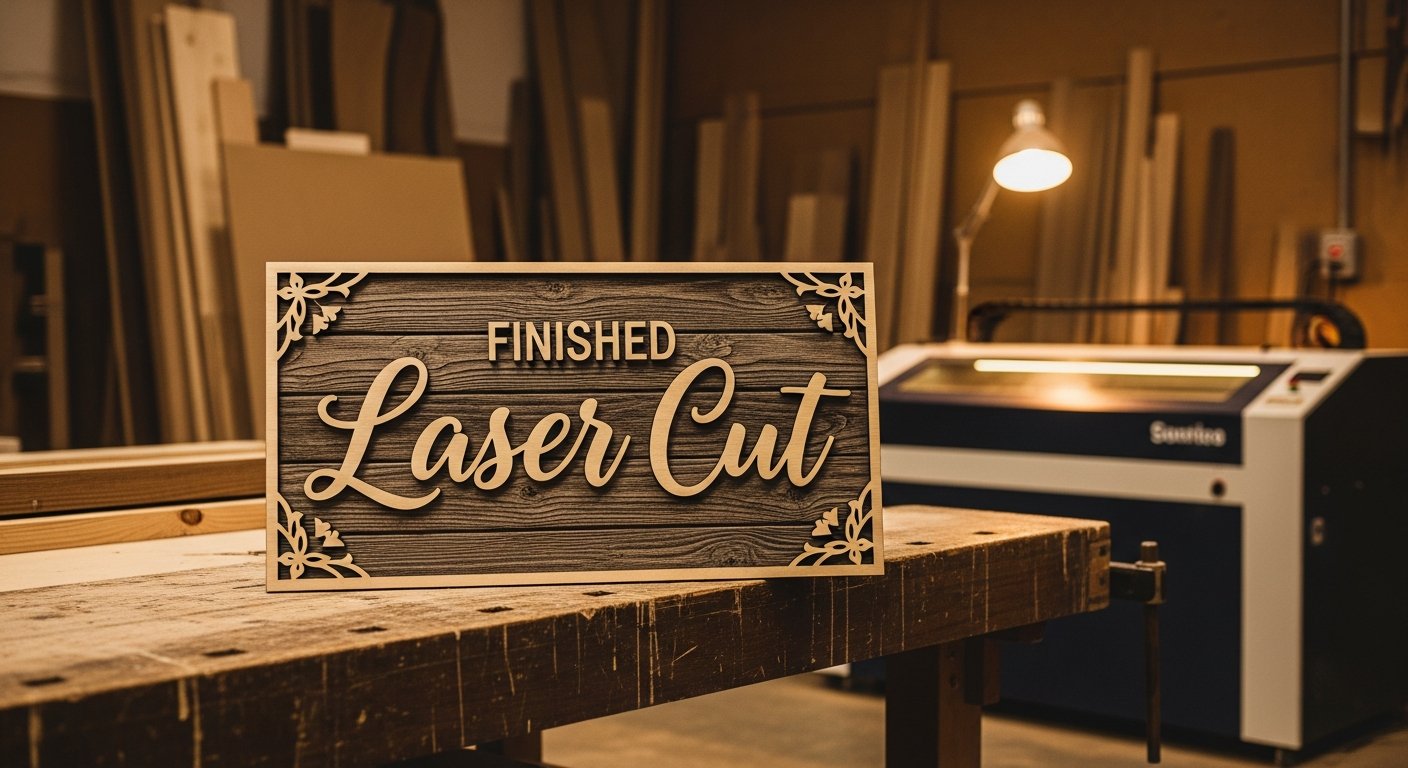
When I first started dabbling with laser cutters, the idea of creating intricate laser cut wood crafts wall hangings signs felt a bit daunting. There’s a learning curve, for sure, especially when it comes to translating a design from your head to a digital file and then to a physical piece of wood. I made plenty of mistakes early on, mostly with file setup and material choices. What I found was that with a bit of patience and some practical tips, anyone can create stunning pieces, whether for home decor, gifts, or even a small business.
The Journey from Concept to Cut: Design Considerations
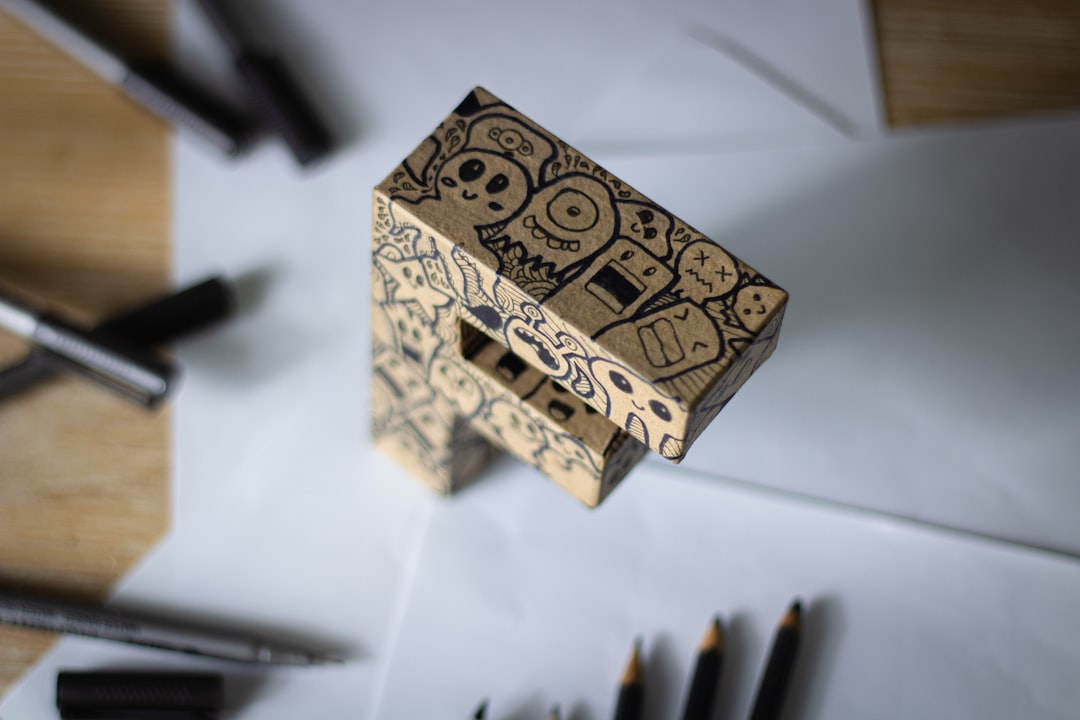
Designing for laser-cut wood is different from other crafts. I learned this the hard way when trying to design a wedding sign for my cousin. Their last name, “Lane,” was short, and I initially wanted it to be the most prominent feature. What I discovered was that short words, when scaled up, become very tall very quickly due to their aspect ratio. This made the design look awkward. My solution was to shift the focus to the couple’s first names, making them the primary focal point and placing the last name above. This small change made a huge difference in the overall balance of the sign.
I also like to play with the overall shape of the sign. For that rustic wedding sign, I wanted to move away from the formal, scooped corners I’d used before. I experimented with a staggered “plank” look, as if the backing was made of multiple boards. Even if it’s a single piece of wood, etching lines can give that illusion. This kind of creative shaping can really elevate a simple design.
Refining Your Typeface and Layout
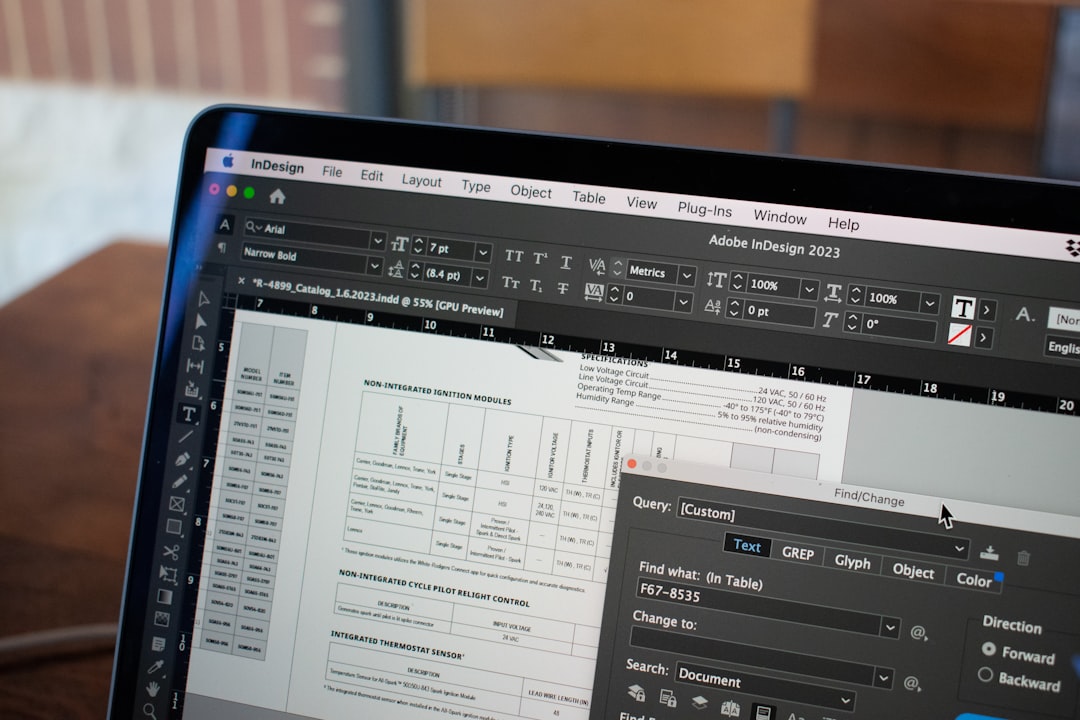
Sometimes, the perfect font has a few too many flourishes. I’ve been there. Instead of ditching a good font entirely, I’ve learned to modify individual letters. For the wedding sign, I tweaked the ‘E’ in Emily and the ‘A’ in Alex to remove some of the busyness. It’s a small detail, but it makes the text cleaner and more readable. Always double-check grammar, too. I almost added an apostrophe to “The Lanes” before a quick search saved me from a grammatical faux pas.
Prepping Your File for the Laser Cutter
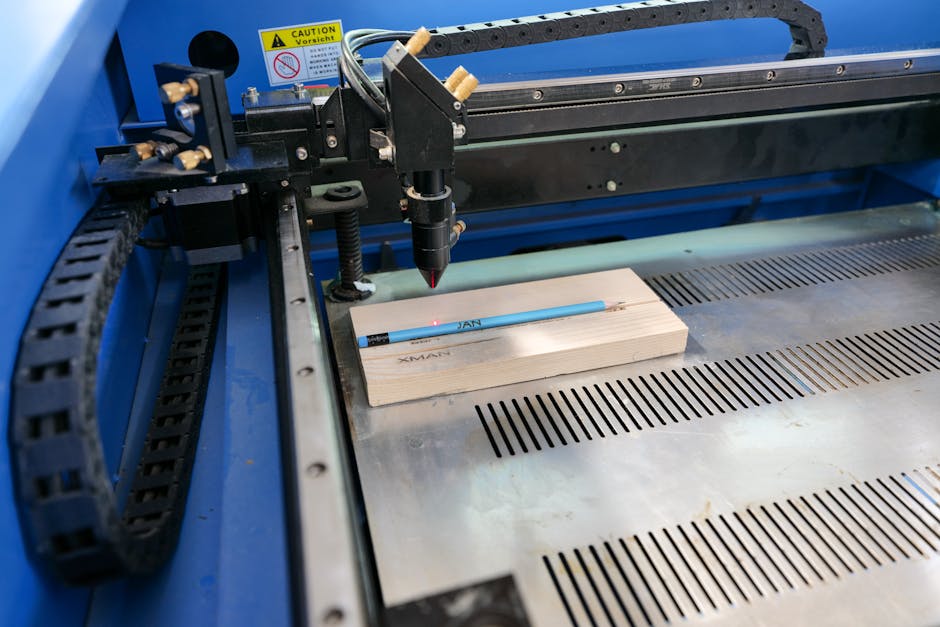
Getting your design file ready for the laser cutter is a critical step, and honestly, it’s where I made most of my early mistakes. My local maker space uses an older Full Spectrum laser, and its software can be finicky. I’ve learned that shapes with both fills and strokes will often result in the laser cutting everything twice, wasting time and potentially burning the wood. The same issue pops up if the stroke weight in design software like Illustrator is wider than 0.25pt.
I break my designs into multiple layers in my PDF. This lets me choose which parts to cut or etch at any given time. Changing the stroke colors for each layer also allows me to apply different cut settings – crucial for achieving varied depths or cutting different elements. For the faux plank lines on the rustic sign, I created them from the main rectangles and then merged a copy into a solid chunk. This way, the outer board cut cleanly, and the lines were etched on top for that convincing multi-piece look.
Crafting Faux Barnwood: A Rustic Touch
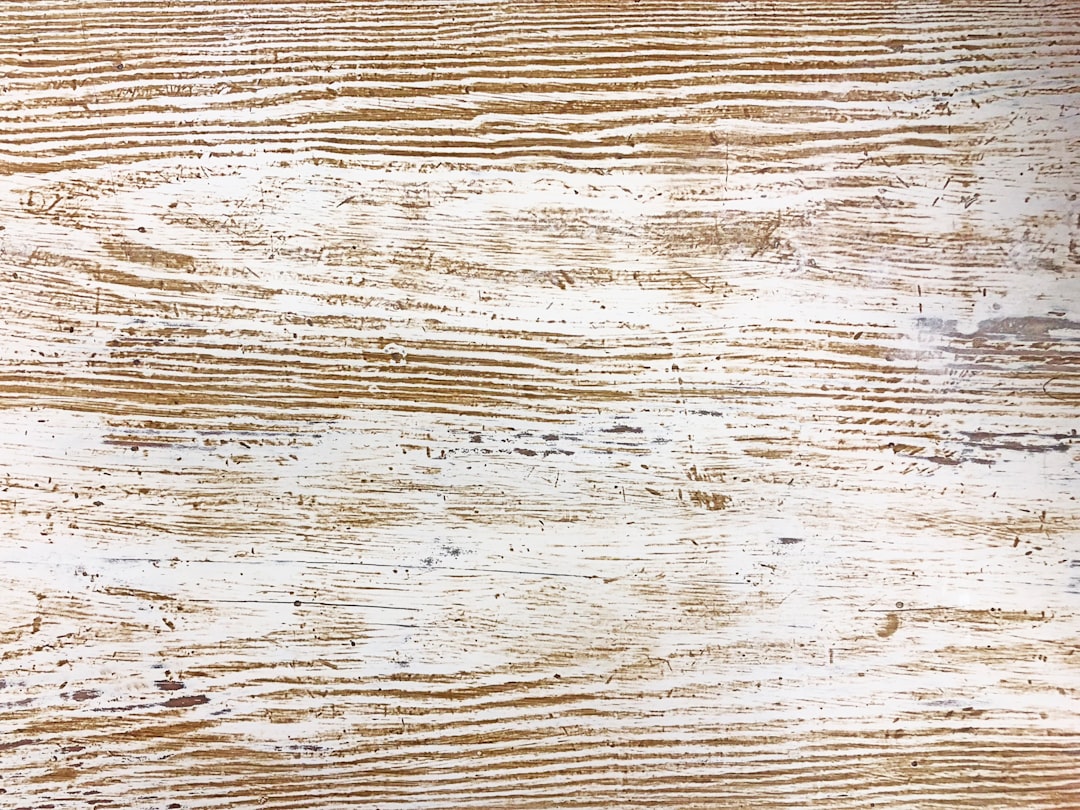
Not everyone has access to genuine barnwood, but that shouldn’t stop you from achieving a rustic aesthetic for your laser cut wood crafts wall hangings signs. I’ve had success creating faux barnwood from regular pine. The process starts with distressing the wood. I use a wire brush attachment on my drill to heavily texture the surface, focusing on sanding between the earlywood and latewood grains. A few taps with a hammer, followed by another pass with the wire brush to smooth out the dents, helps create that weathered feel you’d find on old boards.
Once the wood has the right texture, it’s time for color. My go-to for aging wood is iron acetate – essentially steel wool dissolved in vinegar. It sounds fancy, but it’s simple to make. The chemical reaction between the iron acetate and the tannins in the wood causes it to darken and grey. Pine, however, has a lower tannin content than woods like oak. To supplement this, I apply a strong coat of black tea first. Tea is packed with tannins, and it really helps the pine react with the iron acetate.
After the tea dries, applying the iron acetate is almost magical. It transforms the wood right before your eyes, getting even darker as it fully dries. If it turns out too dark, a brillo pad can help sand it back slightly without exposing the bare wood like sandpaper would.
Popular Laser Cut Wood Craft Ideas
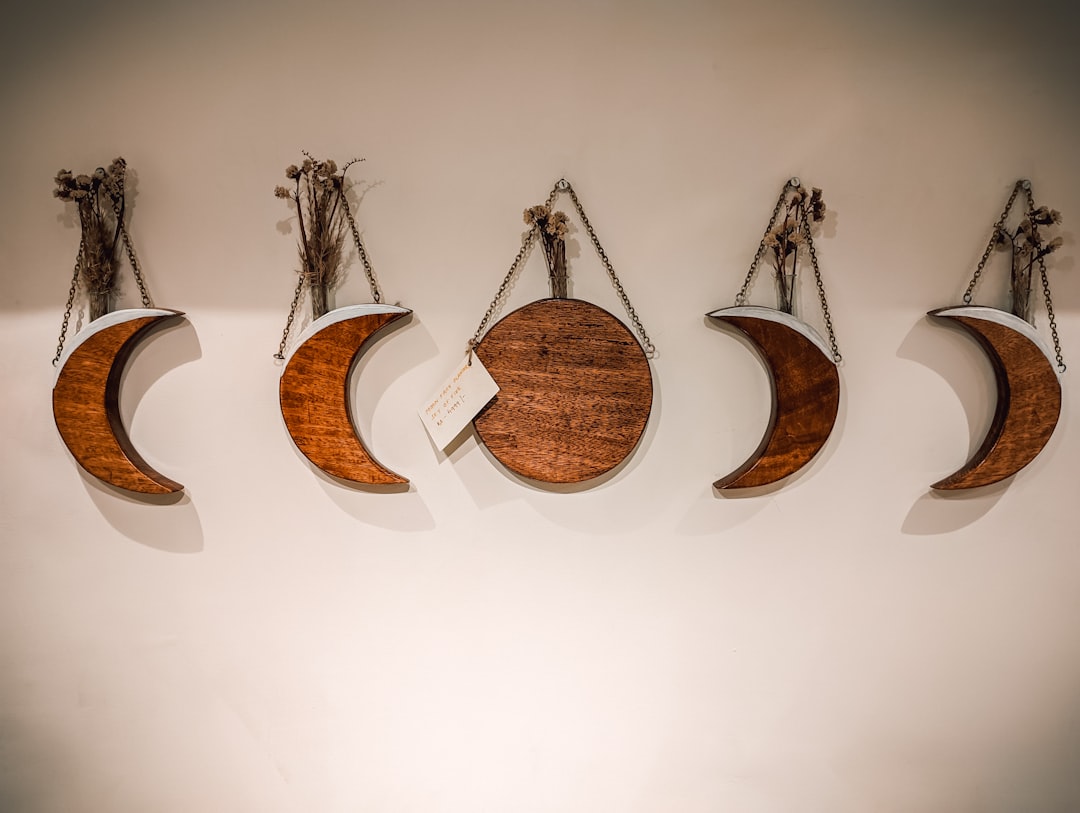
Beyond wedding signs, the possibilities for laser cut wood crafts wall hangings signs are extensive. I’ve seen some truly inspiring pieces. For home decor, intricate laser-engraved wooden wall hangings offer incredible detail, often using sustainably sourced wood, which is a nice bonus. Boho, modern organic, floral, and layered forest designs are popular themes that translate beautifully into wood.
For businesses, custom laser-cut wooden 3D logos or wall lettering make a striking statement in an office or shop. And for the DIY enthusiast, unfinished laser-cut Baltic Birch wood craft shapes are widely available and affordable. These can be painted, stained, or left natural, offering endless customization. I’ve seen everything from cabin signs and beach signs to unique arrows and even currency symbols.
Where to Find Materials and Inspiration
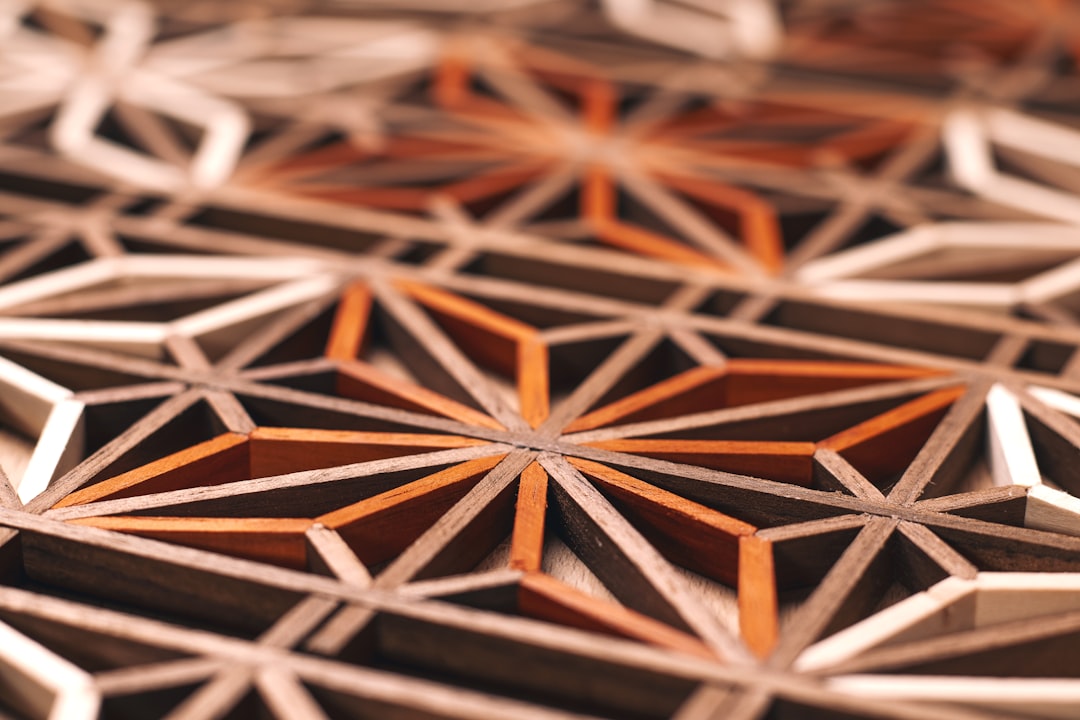
Etsy is a treasure trove for both finished laser-cut wood signs and custom options. Prices vary, but it’s easy to find sellers offering personalized wall decor, business logos, and custom quotes. Many even offer free shipping. For those who prefer to cut their own, specialized craft stores and online suppliers offer unfinished Baltic Birch shapes, which are perfect for testing new designs or creating unique gifts.
I’ve found that starting with a clear vision, even if it evolves during the design process, is key. Don’t be afraid to experiment with fonts, shapes, and finishing techniques. The beauty of laser-cut wood is its precision and versatility, allowing for creations that are both unique and personal.
Getting Started with Your Own Projects
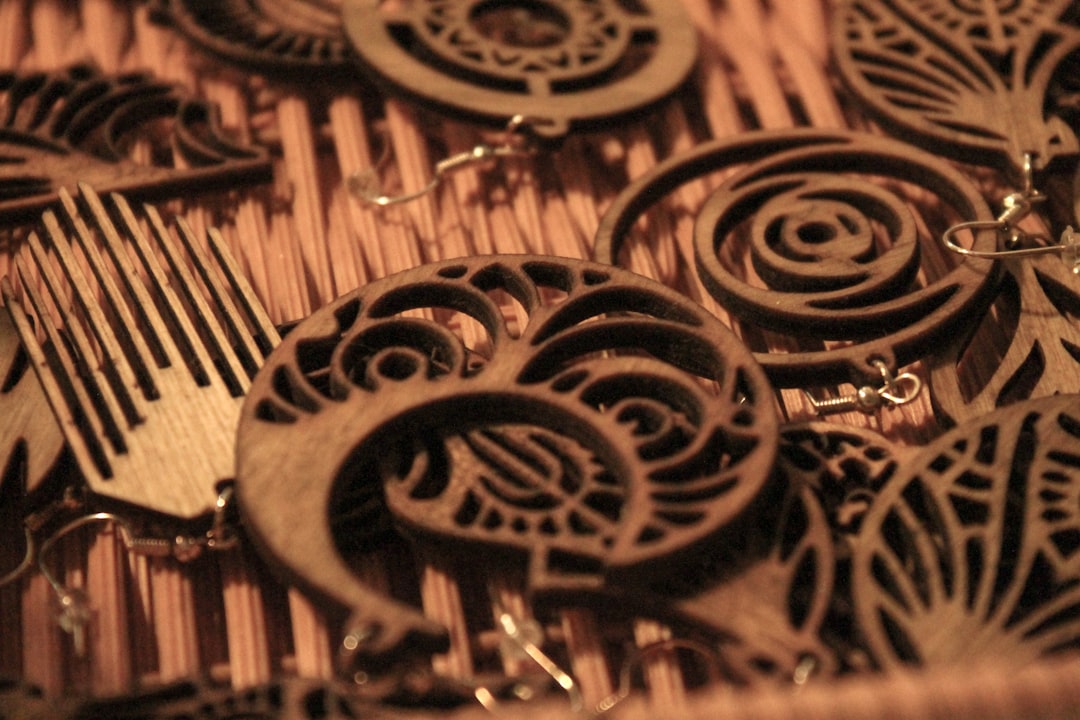
If you’re thinking about trying your hand at laser cut wood crafts wall hangings signs, start small. Maybe try an unfinished wood shape first to practice your painting or staining techniques. If you’re designing your own, focus on getting your file setup correct, as that’s often the biggest hurdle. Consider the wood type – pine is forgiving for faux aging, but other woods offer different grain patterns and finishes. Most importantly, have fun with the process. There’s a real satisfaction in seeing a digital design come to life in wood, a tangible piece of art you created.