When I first started with my laser cutter, I was always looking for projects that combined my hobbies. As a big Harry Potter fan, it was only a matter of time before I tried my hand at laser cut Harry Potter ornaments. What I found was a surprisingly rich world of designs and a really satisfying way to bring a bit of Hogwarts magic into my home, especially around the holidays. It’s not always straightforward, especially when you’re trying to get those intricate details just right, but the end result is worth the effort.
Why Laser Cutting Works So Well for Harry Potter Themes
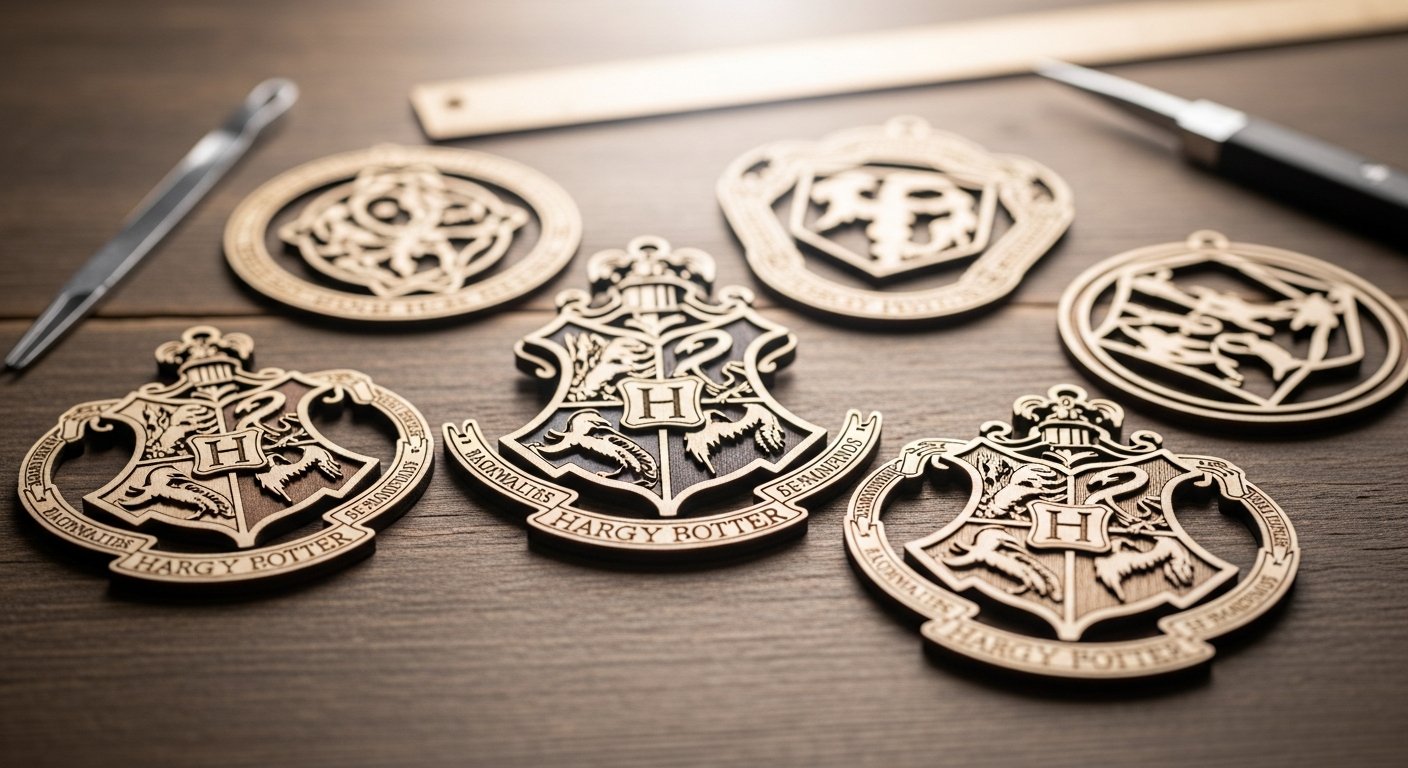
The Harry Potter universe is full of crests, symbols, and intricate patterns. These are the kinds of details that can be really difficult to achieve with traditional crafting methods. This is where laser cutting shines. I’ve found that the precision of a laser allows for incredibly fine lines and sharp edges, which is crucial for replicating things like the Hogwarts crest or the delicate flourishes around a house emblem. You can cut complex shapes from thin wood, like Baltic Birch, without worrying about splintering or uneven cuts. That consistent quality is something I appreciate, especially when I’m making a set of matching ornaments.
Finding Your Design Files
One of the first hurdles in any laser cutting project is always the design file. For laser cut Harry Potter ornaments, you have a few options. I’ve spent a fair bit of time browsing online marketplaces like Etsy, not just for finished products, but for digital files. You can find SVG, DXF, and other common laser cutter formats for everything from individual house crests to full Hogwarts castle designs. There are even sites that offer free Harry Potter laser cutting files, which is a great place to start if you’re just experimenting or want to try out a new design without a financial commitment. I always double-check the licensing if I’m thinking of selling anything, but for personal use, there’s a treasure trove out there.
Choosing Your Materials

For ornaments, I typically lean towards wood. Specifically, I’ve had good results with 1/4″ Baltic Birch. It’s sturdy enough to hold its shape but thin enough for intricate cuts without requiring excessive laser power or multiple passes. The light color of the birch also provides a nice contrast for engraved details, making them pop. I’ve also experimented with acrylic for a different look, especially if I want something that catches the light differently, but for that classic, rustic feel, wood is my go-to. The material choice really impacts the final aesthetic, so I usually try a few different options before committing to a larger batch.
Setting Up Your Laser Cutter
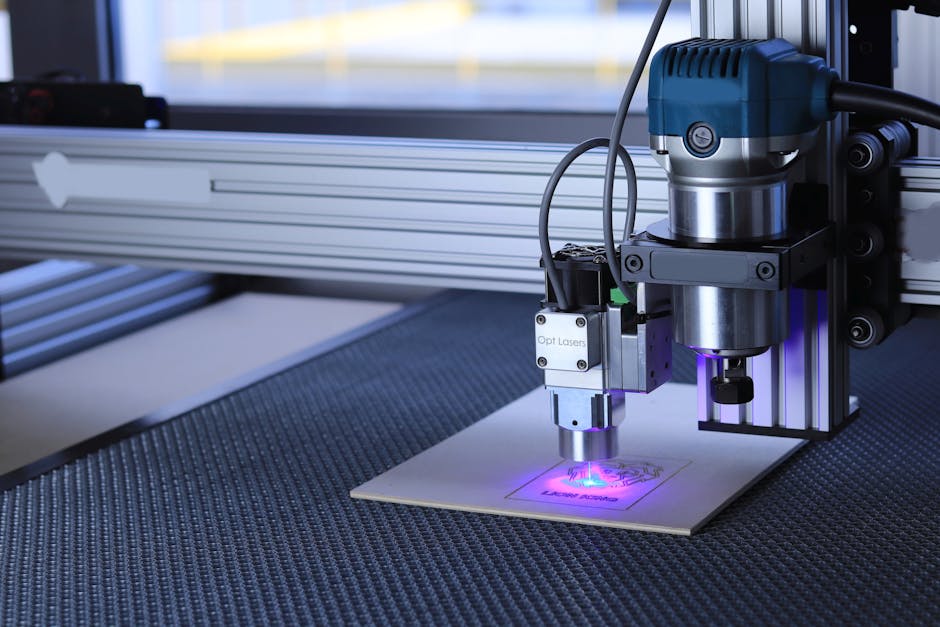
Getting your machine settings right is critical. I’ve learned this the hard way more times than I care to admit. For cutting 1/4″ Baltic Birch, I usually start with a power setting that allows for a clean cut in one or two passes, and a speed that prevents excessive charring. Engraving requires different settings – generally lower power and higher speed – to get that nice, crisp detail without cutting too deep. With my xTool P2, I’ve found it handles these tiny details incredibly well. It’s always a good idea to do a small test cut on a scrap piece of the same material before running your main project. This saves a lot of frustration and wasted material.
Assembling and Finishing Your Ornaments
Once the laser has done its work, the real fun begins: assembly and finishing. For multi-layered designs, I use wood glue, carefully aligning each piece. Sometimes, if the pieces are really tiny, tweezers are a lifesaver. After gluing, I let them dry completely. Then comes the finishing. I usually give the ornaments a light sanding to remove any slight charring or rough edges. For a more polished look, I might apply a clear sealant or a light stain, especially if I want to enhance the wood grain. For the Hogwarts crests, I sometimes use a bit of acrylic paint to highlight the engraved elements, carefully wiping away any excess to keep the lines clean. This extra step really makes the laser cut Harry Potter ornaments stand out.
Beyond Ornaments: Other Magical Projects
The techniques you use for laser cut Harry Potter ornaments can be applied to so many other projects. I’ve seen people create incredible backlit Hogwarts castle designs, intricate book nooks that look like a scene from the movies, and even detailed tea coasters. The possibilities are really only limited by your imagination and the complexity of the design files you can find or create. It’s a great way to expand your laser cutting skills and bring more of that wizarding world charm into your everyday life. I’ve even thought about making larger wall art pieces using layered wood for a 3D effect.
Troubleshooting Common Issues

I’ve definitely run into my share of issues when making intricate laser cut items. One common problem is charring, especially on detailed cuts. I’ve found that adjusting the air assist and reducing power slightly can help, as can making sure your material is clean. Another issue I’ve faced is pieces not cutting all the way through, which usually means I need to either slow down the speed or increase the power slightly, or ensure my material is perfectly flat on the laser bed. Sometimes, tiny pieces can get lost during the cutting process, so I always keep a close eye on the machine and have a small tray ready to catch any rogue elements. It’s all part of the learning curve with laser cutting, and every project teaches you something new.
Creating laser cut Harry Potter ornaments is a rewarding project for any fan with access to a laser cutter. From sourcing the perfect digital files to carefully assembling the finished pieces, it’s a process that allows for a lot of creativity and precision. What I’ve learned is that patience and attention to detail are key, especially when dealing with the intricate designs that make these ornaments so special. It’s a fantastic way to personalize your holiday decor or create unique gifts for fellow Potterheads. Start small, test your settings, and enjoy the magic of bringing these designs to life.