Planning a garden, especially when you’re aiming to grow your own food drawing out your ideas, can feel a bit overwhelming. I remember staring at blank paper for hours, trying to figure out where everything should go. It’s easy to get caught up in the perfect layout, but what I found was that a few simple rules make the whole process much smoother.
Pick the Right Spot: Sun is Key
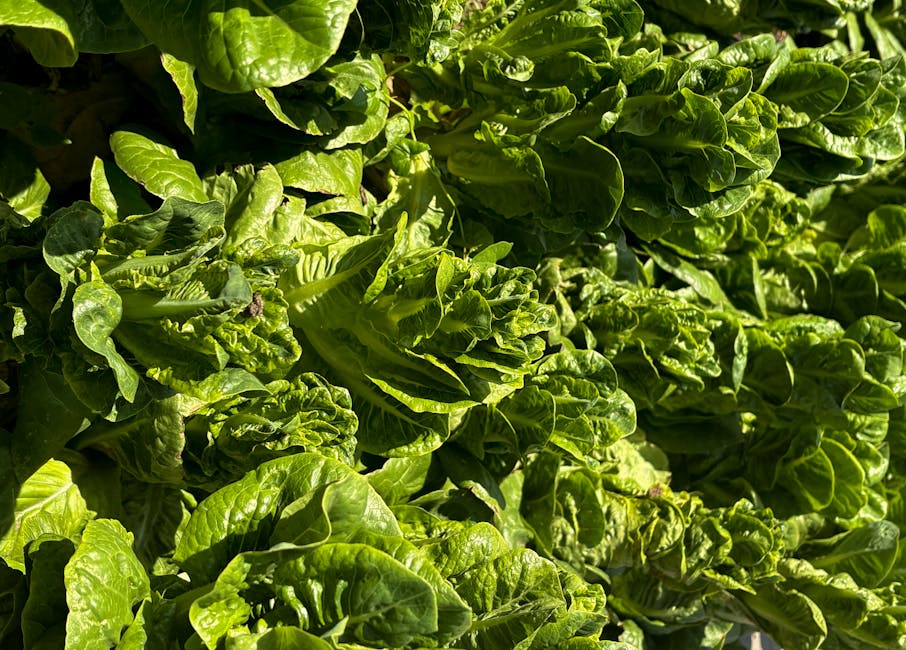
Most vegetables thrive in full sun. This isn’t just about growth; it helps them resist pests and diseases. If you don’t have a spot with all-day sun, that’s okay. I learned to adapt by planting shade-tolerant crops like leafy greens and cool-season vegetables such as peas in areas that get less direct light. They still produce, just maybe not as vigorously as their sun-loving counterparts.
Start with Good Soil: The Foundation of Growth
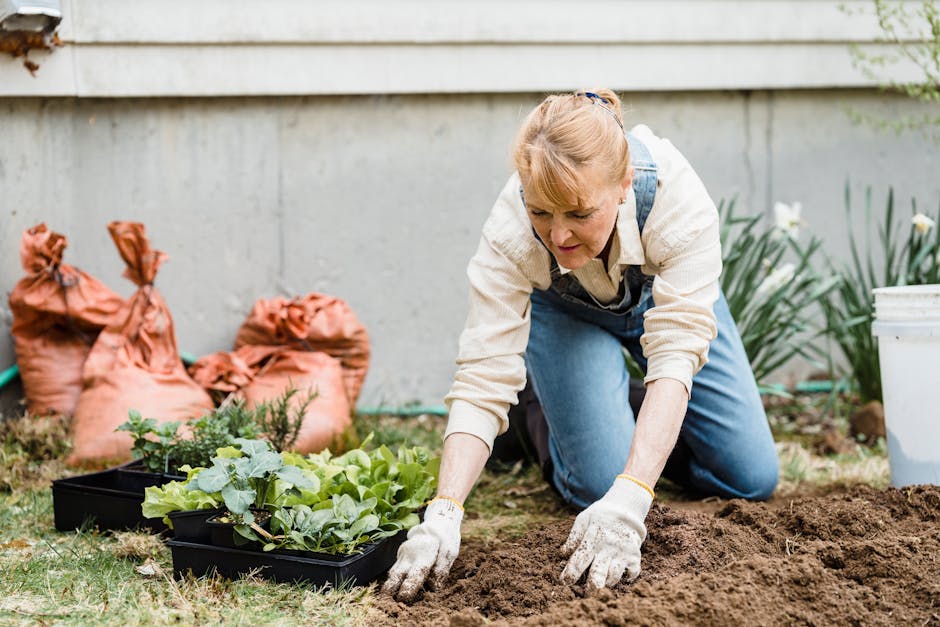
I made the mistake for years of thinking any soil would do. What I found was that good soil is truly the foundation of a successful garden. It needs to be fertile, hold moisture, but also drain well. The best way I’ve found to improve any soil type is by adding well-rotted compost. You can dig it in or just spread it on the surface between plants. It’s an investment that pays off season after season.
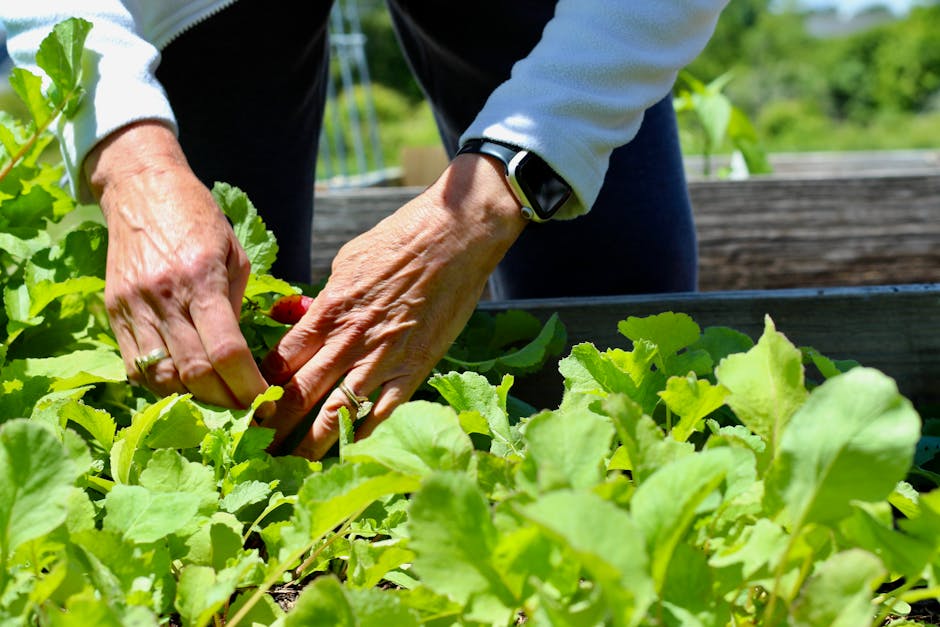
Grow What You’ll Actually Eat

This might seem obvious, but it’s easy to get excited about exotic vegetables you see online. I learned to concentrate on the fruits and vegetables my family and I genuinely enjoy eating. This keeps me motivated to care for the plants and see them through to harvest. Plus, when you grow your own food drawing on your preferences, you can focus on varieties known for exceptional taste, not just shelf life.
Maximize Your Space and Effort
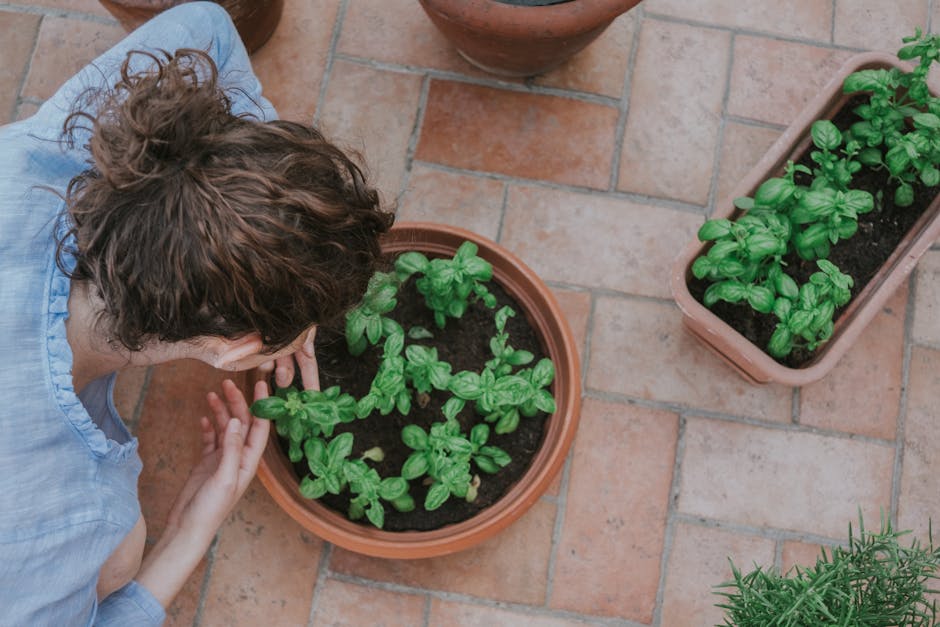
If you’re short on space, like I often am, consider crops that are prolific or expensive to buy. Herbs, leeks, zucchini, and climbing beans are great examples. Many vegetables, especially miniature varieties, also do well in containers. I’ve turned a small patio into a productive area just by using pots. The main thing is to keep them well-watered, especially in summer.
The No-Dig Approach: Less Work, More Reward
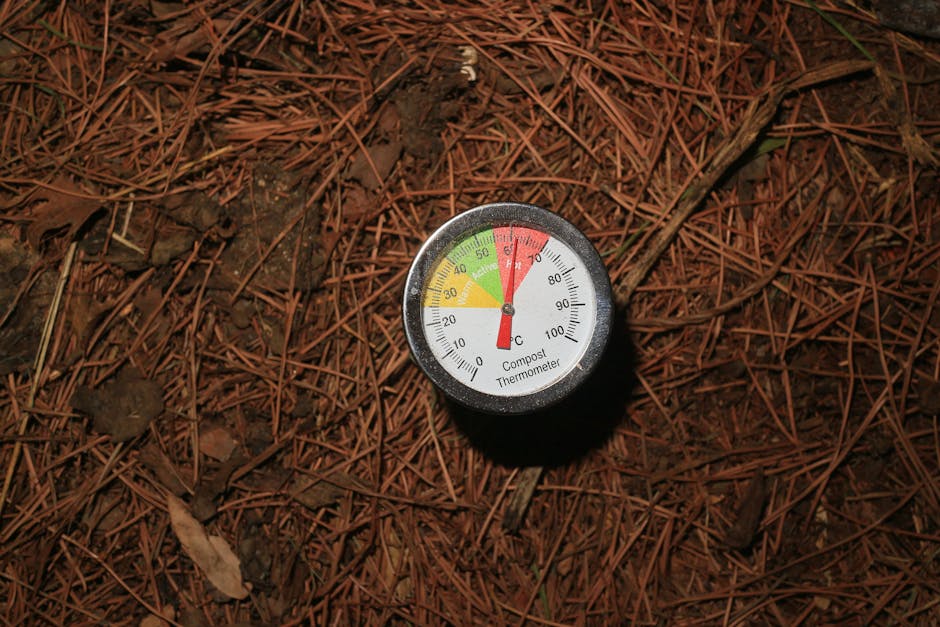
One of the biggest game-changers for me was adopting a no-dig method. It sounds counterintuitive when you have a plot full of weeds, but it works. I tried this for years before figuring out the best way. You simply lay down cardboard over the weeds, then add a thick layer of compost on top. That’s it. This smothers the weeds by depriving them of light. While some stubborn perennial weeds, like bindweed, might push through in the first year, they’re much easier to manage.
I found that starting with a generous amount of compost is crucial. It’s an investment for the future; you won’t need to add as much every year. This method also means you can plant or sow directly into the compost layer right away, even in the first year. I’ve successfully planted raspberries into a newly made no-dig bed and enjoyed harvests that very autumn.
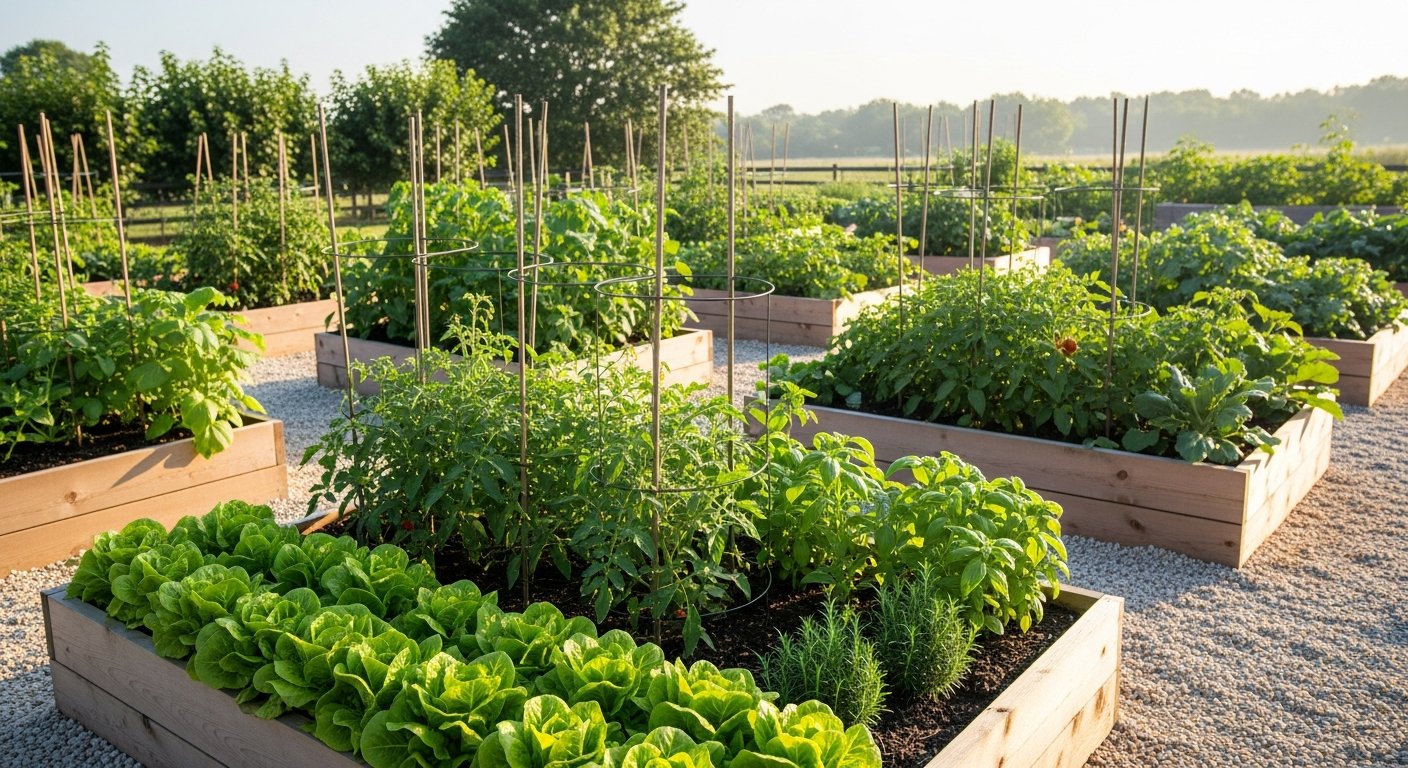
Planning Your Layout: Paths, Beds, and Water
When you’re doing your grow your own food drawing, think about practicalities. Locate your garden closer to the house for easier tending and harvesting. I keep pots of frequently used herbs right outside my back door. Most crops need watering during dry spells, so having a water source nearby is essential. I’ve installed rain barrels to collect water from my shed roof, which helps a lot.
Paths between beds should be wide enough for a wheelbarrow, and the beds themselves should be a size you can easily reach across for maintenance. Consider where you’ll put compost bins and other garden necessities. This kind of careful planning saves a lot of backache later on.
Staggering Your Harvests
To enjoy home-grown produce for longer, I learned to stagger my harvests. Quick-growing crops like radishes can be sown a little at a time, every few weeks, to spread out the yield. Prolific plants like climbing beans and zucchini need to be picked regularly to encourage more production. With a bit of foresight, you can plan for one crop to follow another, keeping your garden continually productive.
I often use a garden planner tool to visualize this, seeing where gaps will appear in my beds throughout the season and figuring out what to plant next. It’s a simple way to make sure the ground is always working for you.
These practical steps, from picking the right location to understanding soil and planning your harvests, have transformed how I approach growing food. It’s about working with nature, not against it, and making the process enjoyable and productive. If you’re looking to grow your own food drawing on these ideas, start small, observe what works, and don’t be afraid to experiment.