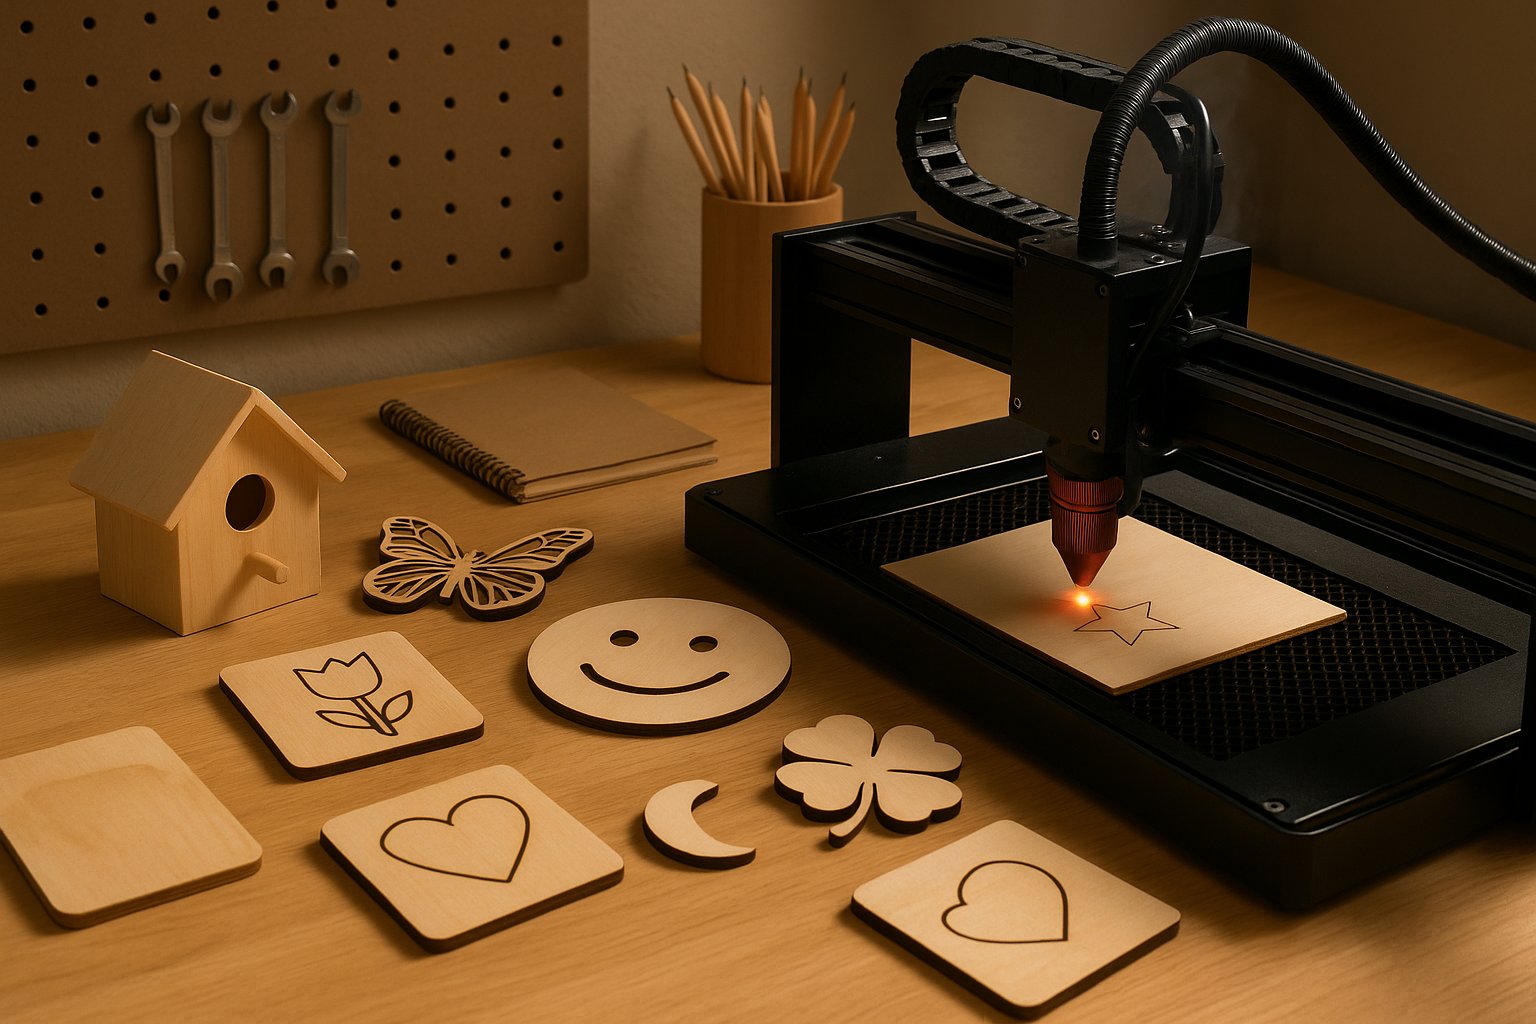
Getting Started with Laser Cutting: Why Edge Quality Matters
Starting your laser cutting journey can feel exciting, but also a bit scary. Many new makers face the same problem: their cuts don’t look as clean as they hoped. You’re not alone if you’ve wondered why your laser cutter leaves messy edges or rough cuts.
Edge quality is super important because it affects how your finished projects look and work. When you cut wood, acrylic, or metal, you want smooth, clean edges that don’t need lots of extra work to fix. This guide will help you understand the most common problems beginners face and show you simple ways to fix them.
The Most Common Edge Problems New Laser Cutters Face
When you’re learning to use a laser cutter, several problems might show up on your cut edges. Let’s talk about the main ones you’ll likely see.
Burrs and Rough Edges
Burrs are small pieces of material that stick to the bottom of your cuts. They happen when melted material doesn’t blow away properly during cutting. According to laser cutting experts, burrs show up when your laser settings aren’t quite right for the material you’re using.
Burn Marks and Heat Damage
Sometimes you might notice dark, burnt areas around your cuts. This happens when the laser moves too slowly or uses too much power. The extra heat burns the material instead of making a clean cut.
Uneven Cut Lines
If your cuts look wavy or have lines running through them, this usually means your cutting speed is too fast. The laser can’t keep up with the movement, creating an uneven finish.
Simple Solutions to Fix Your Laser Cutting Problems
The good news is that most edge quality problems are easy to fix once you know what to adjust. Here are the main things to check and change.
Get Your Power and Speed Settings Right
Think of laser power and speed like driving a car. Too much power is like pressing the gas pedal too hard – you’ll burn your material. Too little power means your cuts won’t go all the way through.
Start with these basic steps:
– Use the recommended settings for your material if your laser came with a guide
– If you don’t have a guide, start with lower power and slower speed
– Make small test cuts on scrap material before cutting your real project
– Adjust one setting at a time so you know what works
Check Your Focus and Alignment
Your laser needs to focus properly on your material to make clean cuts. Most laser cutters have a way to adjust the focus height. If the laser head is too high or too low, your cuts won’t be sharp.
Make sure your material sits flat on the cutting bed. Warped or bent material will cause uneven cuts because the laser can’t focus properly on the whole surface.
Use the Right Gas Settings
Many laser cutters use air or special gases to blow away melted material during cutting. Proper gas pressure helps create clean cuts by removing debris and cooling the cut edge.
If your cuts have lots of burrs, try increasing the air pressure. If your cuts are too wide or rough, the pressure might be too high.
Material Matters: Choose the Right Supplies
Not all materials work the same way with laser cutters. Some are much easier for beginners to work with than others.
Best Materials for New Laser Cutters
Wood is usually the easiest material to start with. It cuts cleanly and doesn’t require perfect settings to get good results. Plywood, birch, and basswood work especially well.
Acrylic is also beginner-friendly, especially clear acrylic. It cuts with very smooth edges and shows mistakes clearly, so you can learn faster.
Materials to Avoid at First
Metal can be tricky for beginners because it needs precise settings. Save metal projects until you’re comfortable with easier materials.
Some plastics can melt in messy ways or create dangerous fumes. Stick to materials that are safe and recommended for your laser type.
Easy Maintenance That Prevents Problems
Taking care of your laser cutter helps prevent edge quality problems before they start. Don’t worry – most maintenance tasks are simple and don’t take much time.
Keep Your Lens Clean
The lens that focuses your laser beam needs to stay clean to work properly. Dust, smoke, or debris on the lens will make your cuts less precise and create edge problems.
Clean your lens regularly with the cleaning method recommended by your laser manufacturer. Usually, this means using special lens paper and cleaning solution.
Check Your Nozzle and Air Flow
The nozzle where the laser beam comes out can get dirty or damaged over time. A worn or dirty nozzle affects air flow and cut quality.
Look at your nozzle regularly and replace it if you see damage. Make sure nothing is blocking the air flow.
Practice Projects to Build Your Skills
The best way to improve your laser cutting is to practice with simple projects. These projects help you learn how different settings affect your results.
Start with basic shapes like squares and circles. Cut the same shape with different power and speed settings to see how they change your results. Keep notes about which settings work best for each material.
Try making simple items like bookmarks, keychains, or small decorative pieces. These beginner projects let you practice without wasting expensive materials.
When to Ask for Help
Sometimes you’ll run into problems that are hard to solve on your own. That’s normal and doesn’t mean you’re doing anything wrong.
Most laser cutter manufacturers have customer support that can help with technical problems. Online communities and forums are also great places to ask questions and learn from other makers.
If your laser cutter came with software, check if there are tutorial videos or guides available. Many companies create helpful content specifically for beginners.
Moving Forward with Confidence
Learning to create clean, professional-looking cuts with your laser cutter takes time and practice. Don’t get discouraged if your first projects don’t turn out perfect – even experienced makers had to learn these skills.
Focus on understanding the basics: proper settings for your materials, keeping your machine clean, and making small adjustments when problems come up. As you gain experience, you’ll develop an intuition for what settings work best.
The key to consistent results is finding the right balance of power, speed, and focus for each project. With practice, creating smooth, clean cuts will become second nature.
Remember that every maker started where you are now. Take your time, be patient with yourself, and enjoy the process of learning this amazing skill. Soon you’ll be creating beautiful projects with edges so clean they’ll look professionally made.