Do you want to learn how to finish your laser-cut leather projects? Are you looking for tips, tricks, and techniques to make the process easier? Then you’ve come to the right place. “A Guide to Finishing Laser Cutting Leather Projects” will provide you with the information you need to turn those laser-cut leather pieces into beautiful, professional-looking projects. From sanding and sealing the edges to the best tools to use, this guide will cover it all. Read on and you’ll soon be an expert at completing laser-cut leather projects.
Tools & Materials
Required Tools
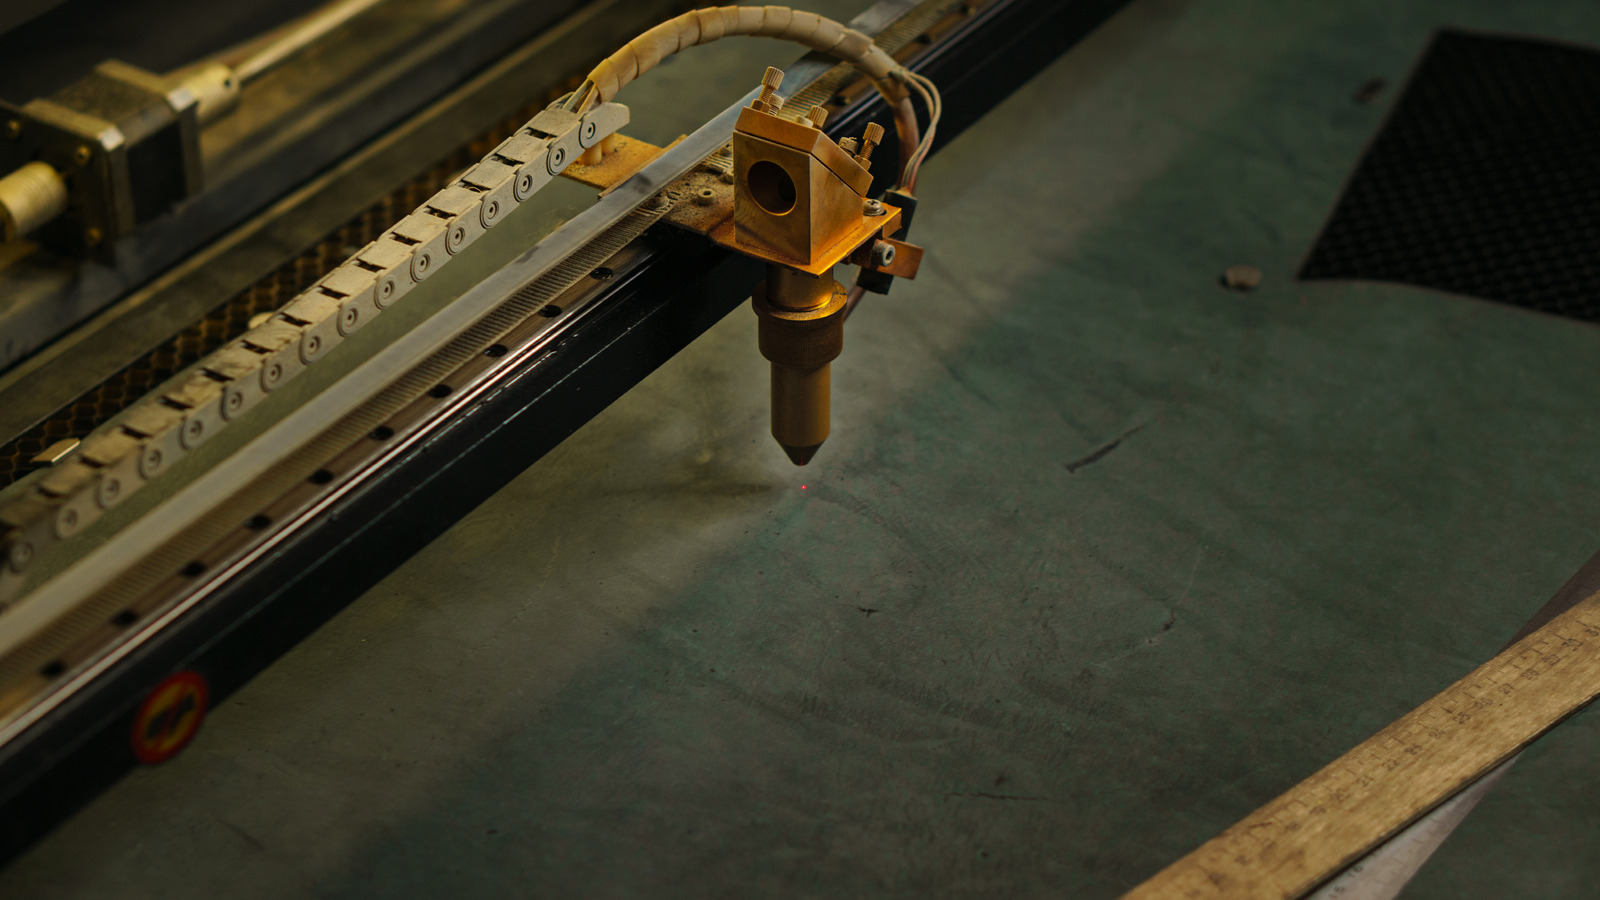
If you’re looking for a comprehensive guide to finishing laser cutting leather projects, then the essential tool you’ll need is a laser cutter. This device uses a concentrated beam of light to accurately cut intricate shapes and designs into a variety of materials, and leather is no exception. While the device can engrave leather items, it is primarily used to cut the material.
Designs are created digitally and then sent to the laser cutter for execution. This allows for precision, accuracy and speed when compared to manual cutting or engraving methods.
Needed Materials
Writing a comprehensive guide to finishing laser cutting leather projects needs a few key materials to get started. The most important material is obviously a laser cutter. Whether you own one or need to borrow one from a nearby maker space, having a laser cutter to engrave leather will be essential.
In addition to a laser cutter, it’s important to have a working knowledge of any software needed to program the laser, as well as laser safety guidelines. You’ll need to know how to operate the laser cutter, as well as how to adjust the settings for the leather material.
Prepping the Leather
How to Choose the Right Leather
When embarking on a laser cutting leather project, it’s important to understand what type of leather will work best for the project. Selecting the wrong leather can result in an undesired outcome and a waste of time and materials. To help you get started, here is a comprehensive guide on how to choose the right leather for laser cutting.
The main characteristic you should consider when selecting a leather for laser cutting is its thickness. Leather thickness is measured by weight, which is measured in ounces.
Preparing the Design
When it comes to completing laser cutting leather projects, preparation is key. Creating a comprehensive guide for prepping the leather is essential in order to both make sure that the design comes out looking perfect and to avoid any unnecessary damage to the material. Preparing the design is the first step in the process.
This includes deciding on the recomended leather thickness, layout, and type of leather.
Printing the Template/Drawing
When it comes to laser cutting leather projects, one of the most important tasks is to create a template or drawing. Before you begin your project, it is crucial to properly print the template or drawing and make sure you have the right measurements and patterns in place. This task serves as the foundation for the remainder of the project and can determine the overall success of the finished piece.
Because of the variation between laser cutters, there are a few different approaches you can use when preparing your template for laser cutting. First, consider the available settings on your laser cutter and how those will impact your project.
Laser Cutting Process
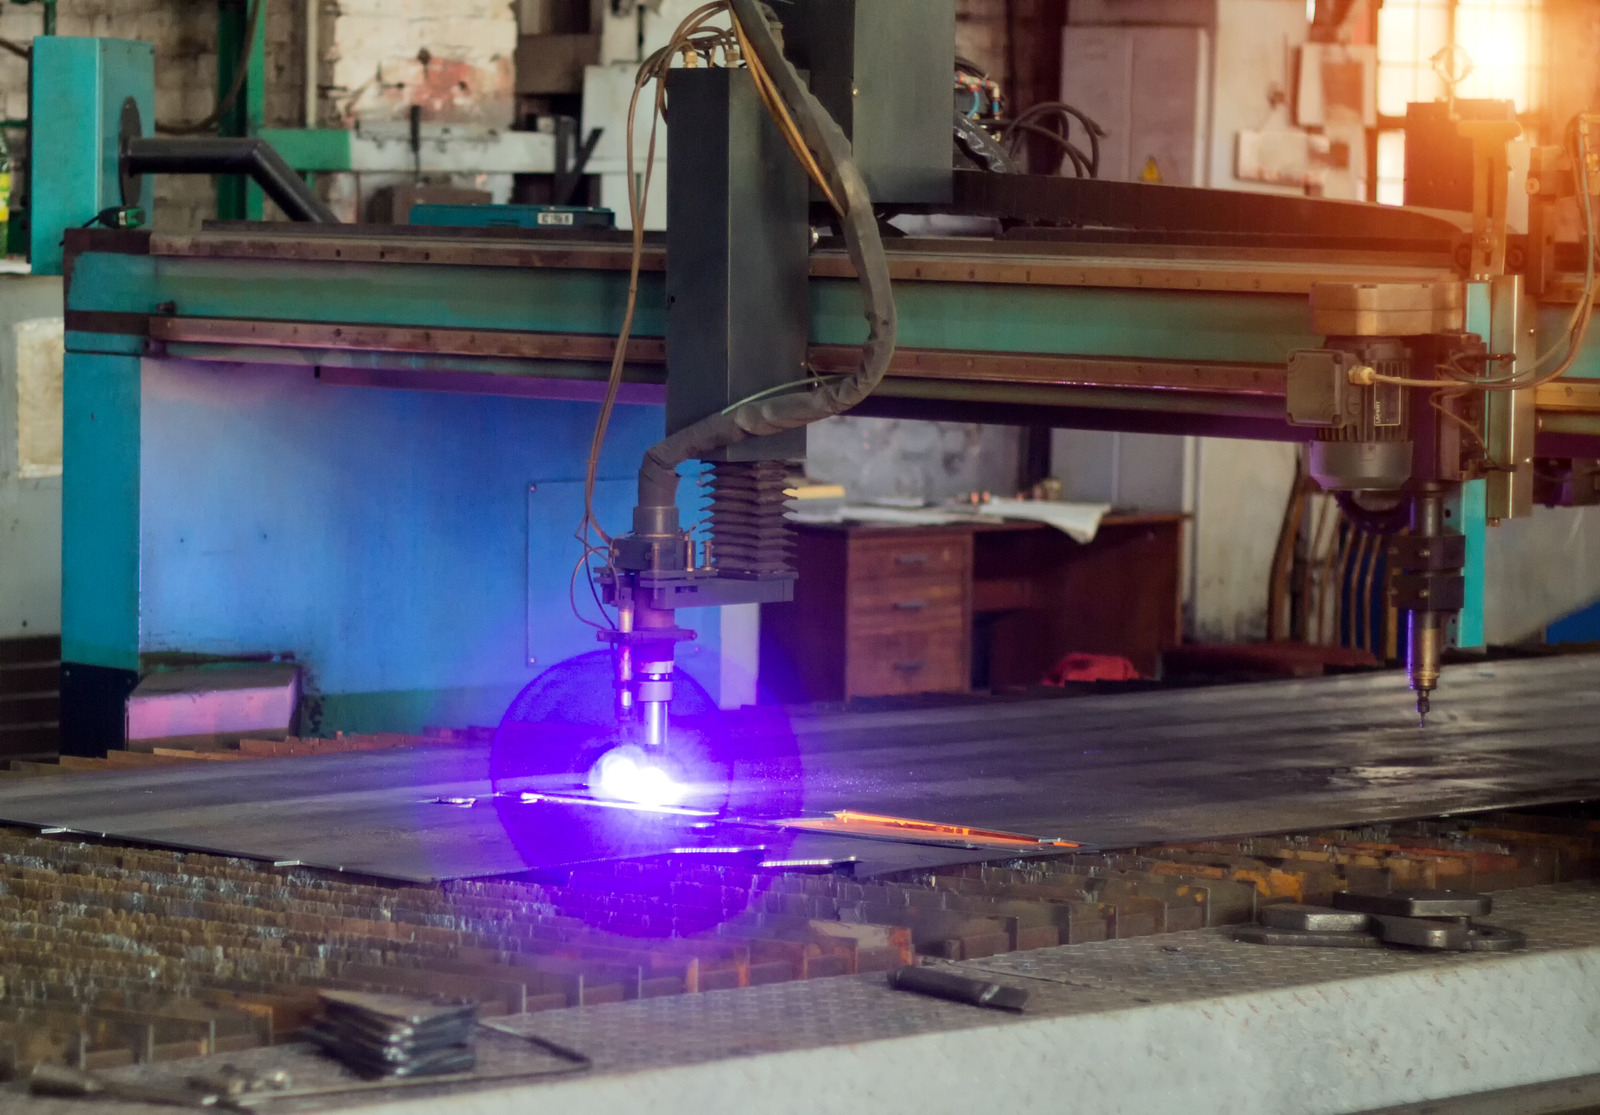
Setting Up the Machine
When you’re ready to start laser cutting leather projects, the first step is setting up the machine. Whether you’re using a CNC laser cutter, a hobbyist laser cutter, or something else, there are a few things you’ll need to do before getting to the actual laser cutting. To begin, you should check that all of the laser cutter’s components are in good condition, including the optics, power supply, and laser head.
Next, you’ll want to make sure the laser machine is attached to an air compressor that is capable of providing enough air to cool the cutting machine.
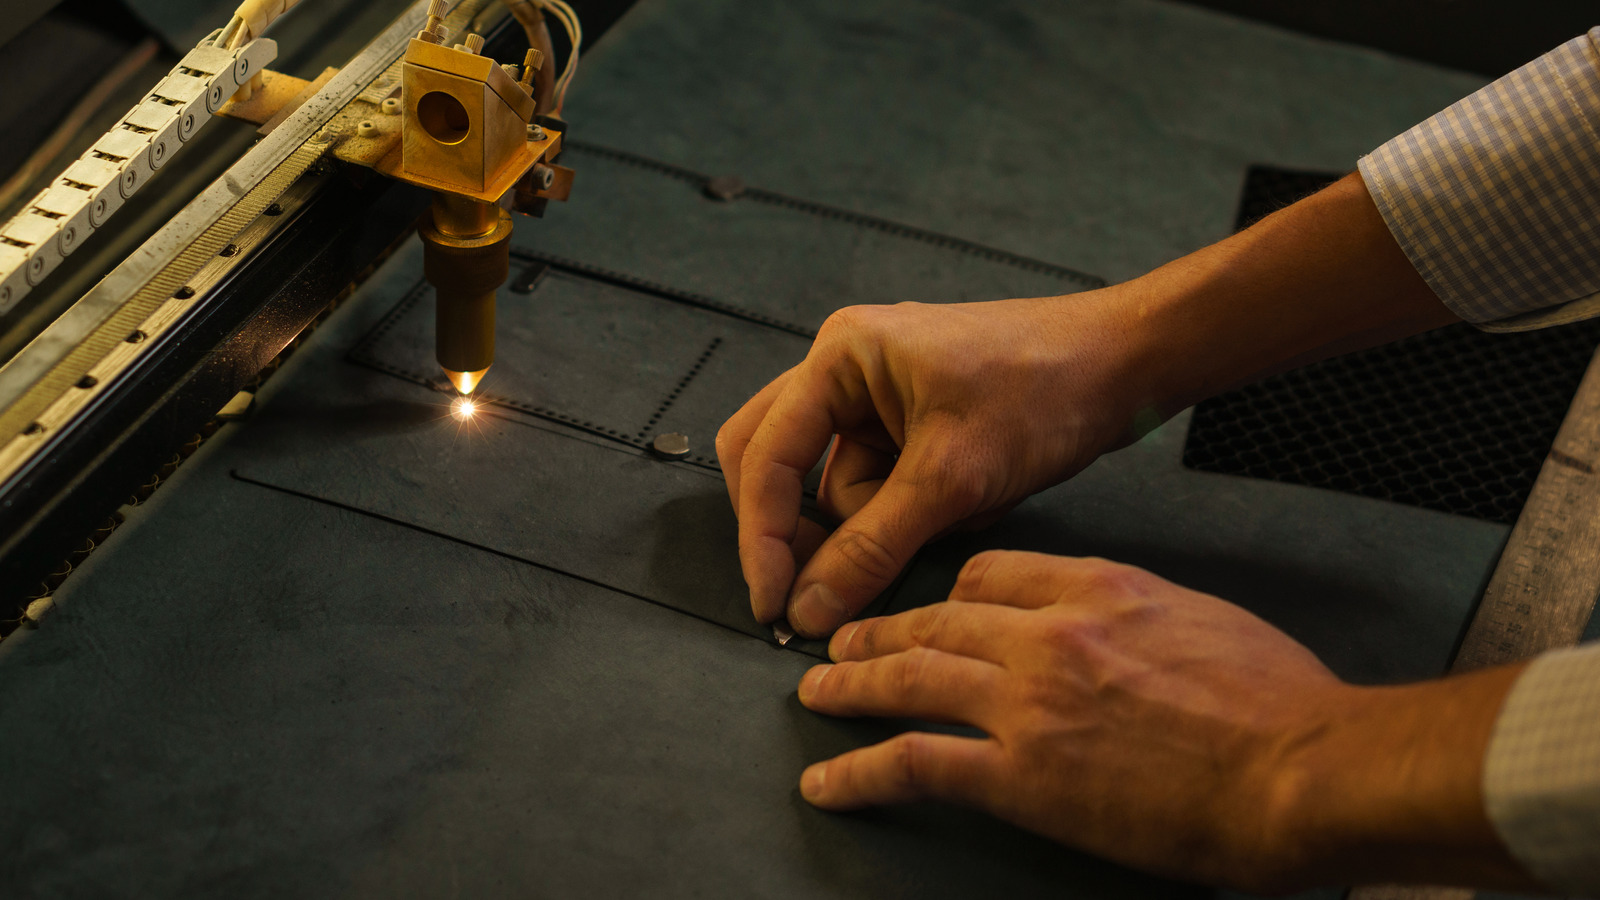
Placing the Leather on the Cut Bed
When it comes to the laser cutting process for leather projects, one of the most important steps is placing the leather on the cut bed. This process can seem straightforward, but it’s important to keep in mind some important tips in order to make sure the project comes out looking perfect. One of the first steps is to make sure that the leather is of an appropriate size and shape to fit on the cut bed.
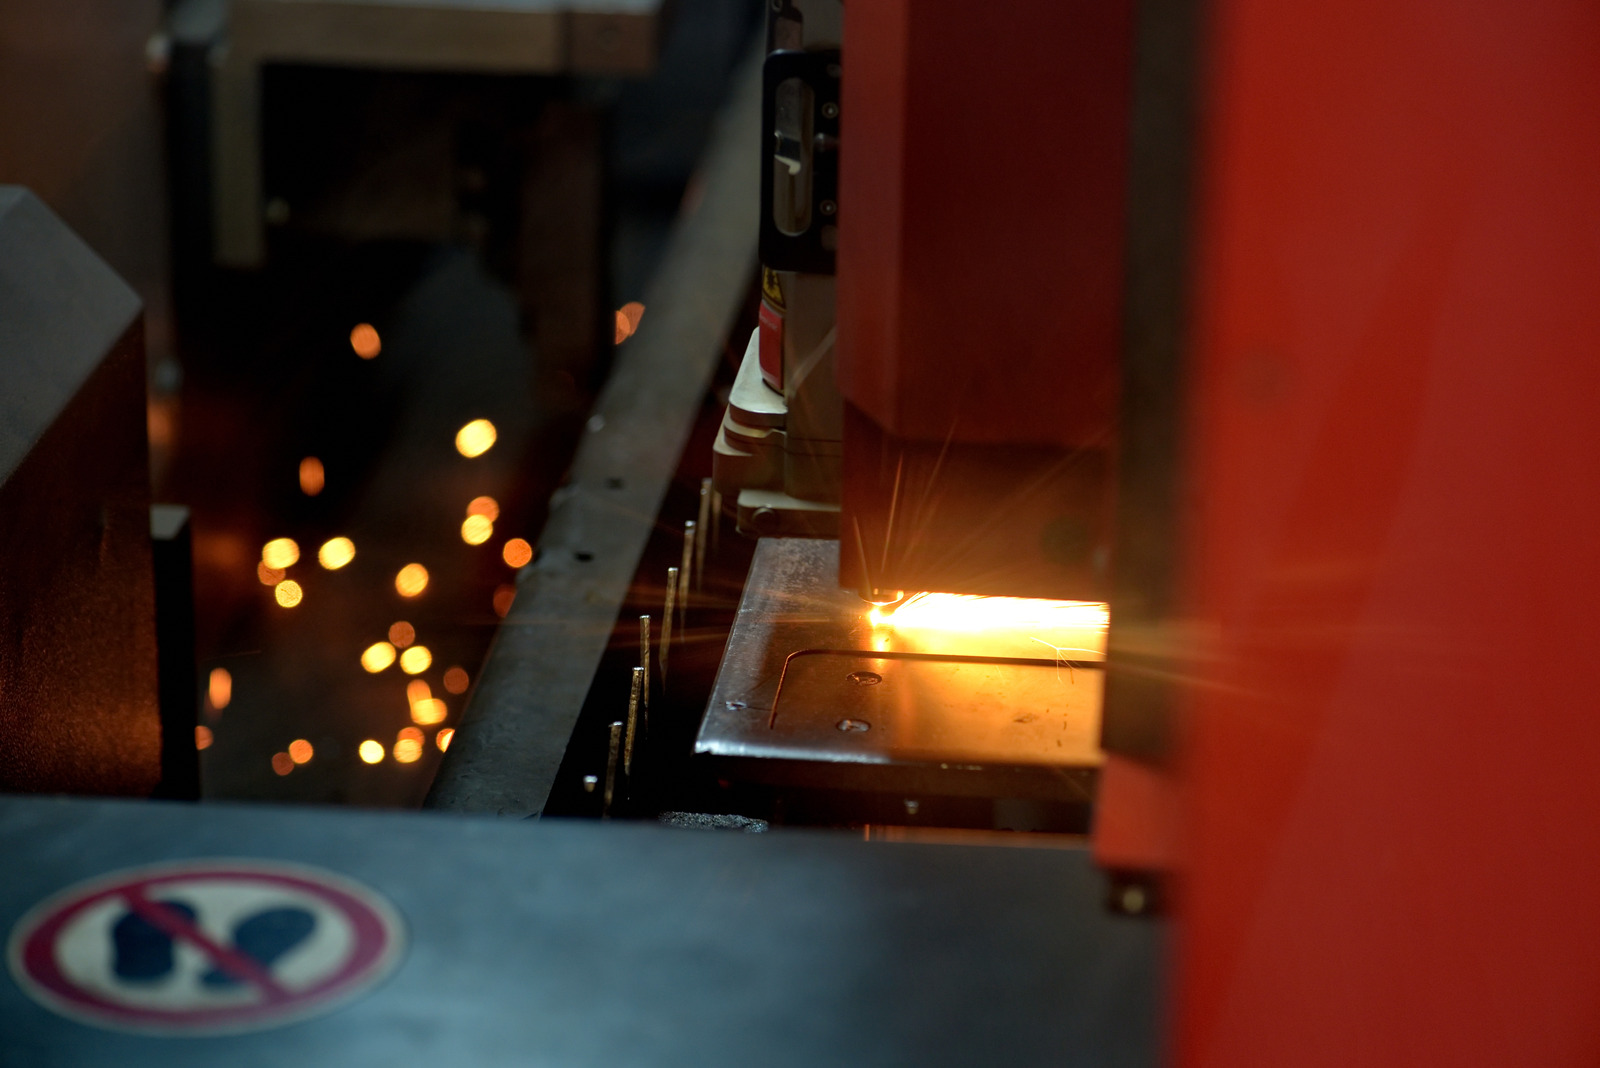
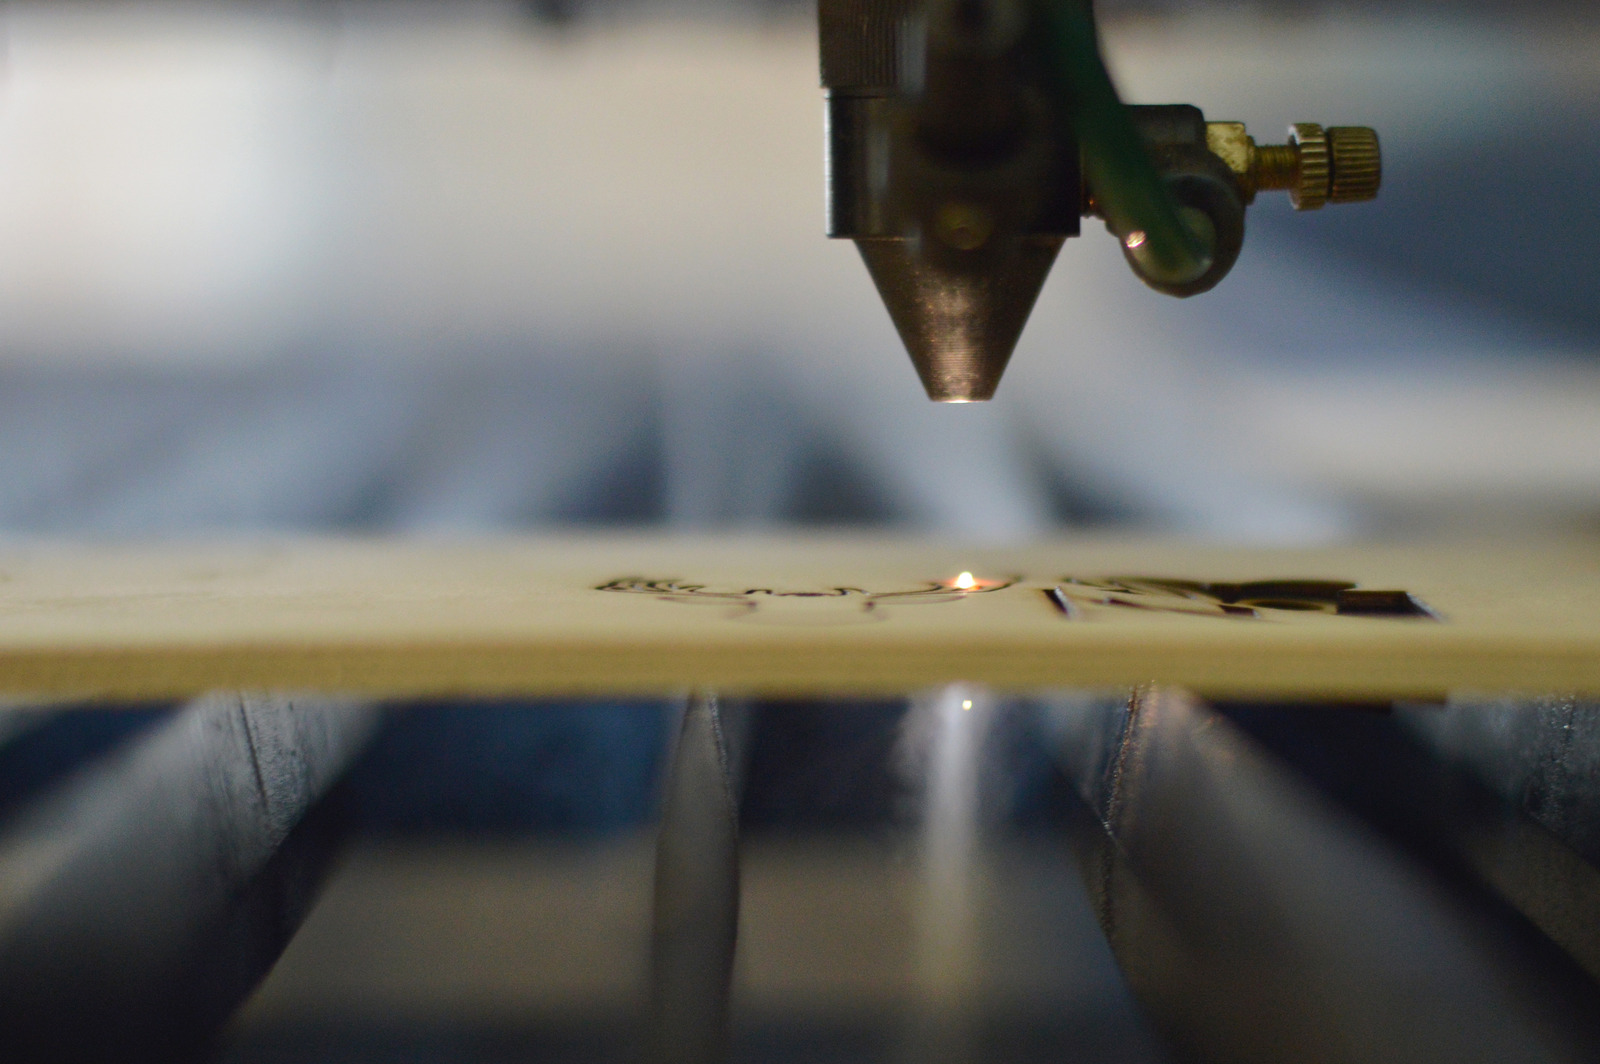
Running the Laser
Running the Laser is the most crucial step in finishing a laser cut leather project. Before you begin, make sure to familiarize yourself with the device and the settings that you want to use for your project. Safety is paramount and precautions should be taken when running the laser, so be sure to read the safety guidelines before starting.
Once you’re familiar with the laser cutter and safety procedures, you can start to run the laser for your project.
Finishing Touches
Once you’ve finished laser cutting leather for your project, it’s time for the finishing touches. While a laser cutter can produce stunningly intricate details on leather pieces, the project won’t truly be complete until some additional finishing is done. We’ll cover the kinds of finishing that are typically done to laser cut leather projects and the steps involved with completing each one.
Finishing & Assembling
Trimming the Edges
When it comes to laser cutting leather, the finishing of the project can be the most time consuming part. Trimming the edges, along with other assembly techniques, can help give your leather laser cutting project a professional and polished look. If you have a laser cutter, you may be using it for a variety of projects, from engraving, to die cutting, or even for cutting out leather shapes and patterns for custom projects.
No matter what the project is, trimming the edges of the leather can make a big difference in the finished product.
Connecting the Pieces
When it comes to assembling the pieces of a completed laser-cut leather project, the “Connecting the Pieces” blog section will provide an in-depth and comprehensive guide to help ensure that your project is finished with the highest level of professionalism. Finishing and assembling leather pieces after laser-cutting can be a tricky process and without the right know-how can result in a final product that is subpar in quality.
Adding Stitching
When it comes to laser cutting leather projects, adding stitching is an important part of the process that helps to enhance the quality of the finished product. This comprehensive guide will cover all you need to know about adding stitching to your laser cut leather projects and assembling them properly. As a beginner, it’s important to understand the basics of sewing with leather.
Unlike fabric, leather is thicker and tougher and requires more time and effort to complete.
Adding Hardware/Appliques
Adding hardware and appliques to finish off your laser cut leather projects is an essential part of the process. Not only can they add a unique flare to the item, but they can help to provide additional functions. Whether you are using large decorative rivets, small studs, multiple layered appliques, or intricate lacing, here is a comprehensive guide to adding all kinds of hardware to your laser cut leather projects.
To begin, consider the type of hardware you are going to use for your project. Metal is commonly used, but so are fabrics and wood.
Do you sand after laser engraving?
When it comes to laser cutting leather projects, there is often a question of whether or not to sand the material after laser engraving. Depending on the type of leather and the desired design, this step can be done for various reasons. For a good quality finish, it is important to sand the leather after engraving.
Should you stain before or after laser engraving?
When it comes to finishing a laser cut leather project, the biggest question you’ll have is whether you should stain the material before or after the laser engraving process. Staining before laser engraving can provide a richer feeling product, as the cutting lines will already be tinted. However, staining before laser engraving also carries the risk of staining inaccurately as the edges are more easily discolored than the finished product.
Can you laser finished leather?
Yes, you can laser finish leather! Using a laser cutter to make intricate cuts and engravings on leather pieces can be a fast and efficient way to make unique and attractive products. This comprehensive guide will take you through the process of laser cutting leather, from start to finish.
The first step in using a laser cutter for your leather project is to figure out which materials will work best. Leather is a durable, long-lasting material that can stand up to a large amount of heat and pressure, but it’s important to remember that not all leather is created equally.
Conclusion
Final Thoughts
Final Thoughts With the comprehensive guide above to laser cutting leather projects, you should now have the knowledge and skills to get started on your own leather laser engraving. Even though the process of laser cutting leather projects can be quite complex, with the right tools and knowledge you will be able to achieve amazing results. Make sure you start off with a few practice pieces before taking on any major projects, so that you can get to know your laser cutter.
It might even be worth investing in some leather-specific laser engraving software so that you can program the machine with exact precision for each cut.
Resources for More Information
It is important to take the time to research and understand the craft of laser cutting leather projects, but the effort will be worth it as the quality of your finished product will be outstanding. To finish off, there are a few additional tips to keep in mind to get the best out of your laser cutting leather projects.
- Utilize YouTube videos for step-by-step tutorials on how to finish laser cutting leather projects.
- Attend a local leatherworking workshop to get hands-on advice from an experienced craftsperson.
- Read leather craftsmanship books for additional tips on leather-specific processes and techniques.
- Subscribe to leatherworking newsletters to stay up-to-date on upcoming trends in leather crafting.
- Join Facebook Groups or leatherworking forums to connect with like-minded individuals for knowledge exchange and support.